Why the First Hour Matters Most
Unboxing a new computer is exciting — but what you do in the first hour shapes how well that machine serves you for years. Skipping setup basics doesn't just leave loose ends; it can expose your data, slow down performance, and create headaches when something goes wrong later.
This checklist walks you through every meaningful step before you settle in and start using your new laptop or desktop for real. If you haven't yet decided between a laptop and a desktop, our guide to choosing between the two can help you think it through. And for a broader foundation on computers, the complete buyer's education is a solid starting point.
Work through the groups below in order — each one builds on the last.
Before You Power On
Account & Sign-In Setup
System Updates & Security
Removing Bloatware
Backup Configuration
Privacy & Preferences
Tools You'll Want Nearby
Before you start, gather a few things so you're not hunting for them mid-setup. None of these require a tech background to use — they're straightforward utilities and habits that make the process smoother.
External hard drive or SSD
Used to configure a local backup so your files are protected against hardware failure from the start.
Cloud storage account
Provides automatic off-site backup for documents and photos without relying on physical media.
Password manager app
Stores all your login credentials in one encrypted vault, removing the need to reuse weak passwords.
Authenticator app (for 2FA)
Generates time-sensitive verification codes for two-factor authentication on your accounts.
Wired Ethernet connection or stable Wi-Fi
Needed to download system updates reliably — a dropped connection mid-update can cause problems.
Don't Skip Updates on Public Wi-Fi
Downloading system updates on an open public network (coffee shops, airports, hotels) exposes your unpatched machine to risk before it's secured. Complete your initial update process on a trusted home or private network. If that's not possible, use a mobile hotspot as a safer alternative.
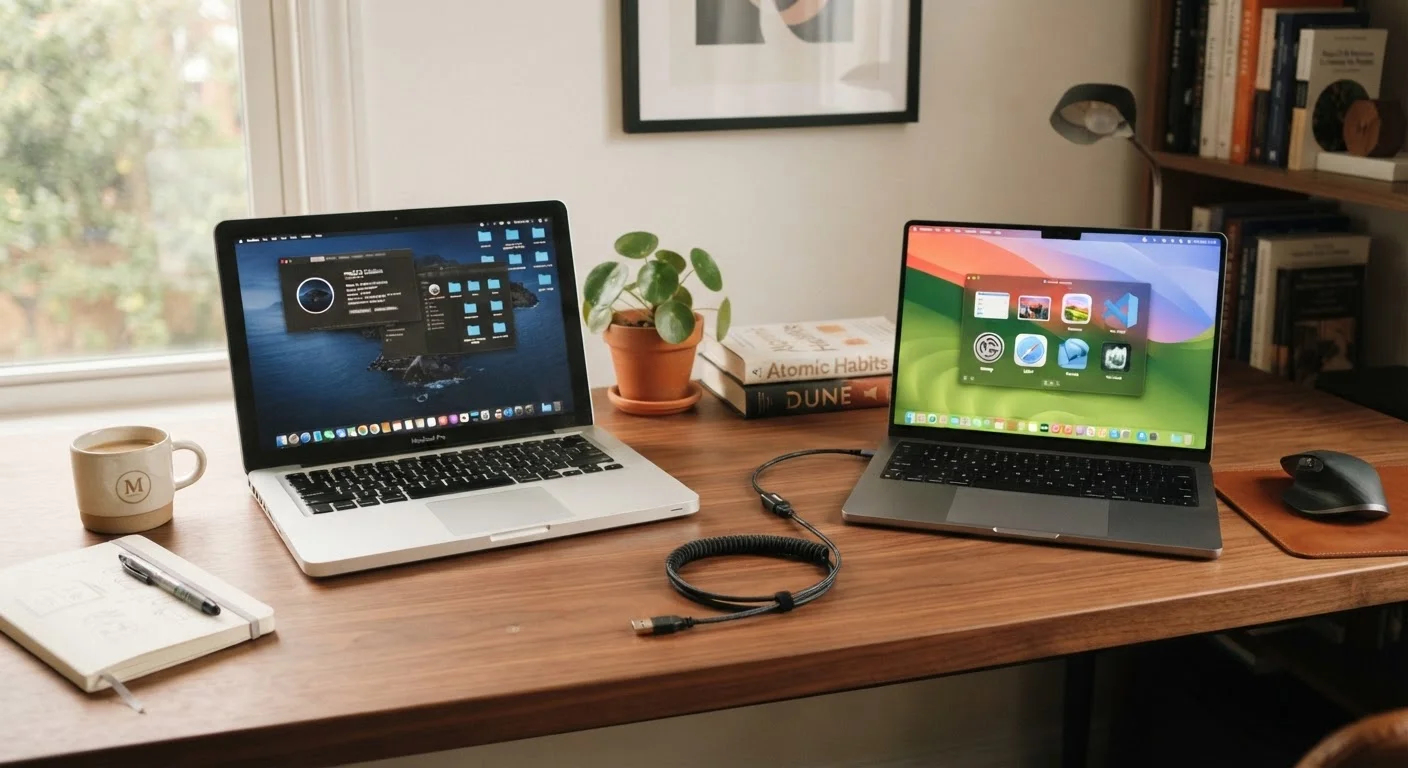
Once your machine is secure and backed up, the next logical step is moving your old files over. Our guide on transferring files and settings to a new computer walks through that process clearly. And if you're planning to add smart home devices to your setup, check what to verify before adding another smart device first.
To keep your machine running well long after today, build the habits covered in our article on keeping your laptop running well for years.
Back Up Before You Do Anything Else Productive
Hardware can fail at any time — including on a brand-new device. Until a backup is configured and verified, every file you create exists in only one place. Don't store important documents, photos, or work files on your new machine until your backup system is tested and running. A backup you've never tested is not a backup.