Why This Process Deserves More Than a Quick Copy-Paste
Getting a new computer is exciting — until you realize your old machine held years of organized files, carefully curated browser bookmarks, and application settings you never thought to write down. A rushed transfer often means re-doing work or losing things quietly: a folder you forgot existed, a password stored only in a desktop app, or an email archive that didn't make it across.
The good news is that with a clear plan, this process is genuinely manageable for everyday users — no IT background required. If you're still in the process of choosing which machine to buy, our guide for first-time computer buyers covers everything from specs to setup decisions before you commit.
Below you'll find everything you need — the tools, the steps, and the order that keeps your data safe.
What you will need
External hard drive or USB flash drive
Physically carries your files from the old machine to the new one without relying on internet speed.
macOS Migration Assistant
Built-in Mac tool that transfers files, apps, user accounts, and settings between Macs automatically.
Cloud storage account (e.g., Google Drive, OneDrive, iCloud)
Allows files already synced to the cloud to be restored on the new computer simply by signing in.
Password manager or browser sync account
Restores saved passwords and browser bookmarks on the new machine without manual re-entry.
Step-by-Step: Moving Everything That Matters
Follow these steps in order. Skipping the backup step (Step 2) is the single most common mistake users make — and the one with the most painful consequences.
Back Up Before You Begin
Never start a transfer without first creating a full backup of your old computer. If anything goes wrong mid-transfer — a power outage, a corrupted file, or a failed connection — your backup is your safety net. Store the backup on an external drive or a cloud service that is separate from the transfer method you plan to use.
Take inventory of what you need to move
Before touching any cables or settings, spend ten minutes cataloguing what actually needs to transfer. Common categories include documents, photos and videos, music, browser bookmarks and passwords, email data, and application settings. Skip anything you no longer use — a migration is a natural opportunity to declutter your digital life.
Create a full backup of your old computer
On Windows, use the built-in Backup and Restore tool or File History. On macOS, use Time Machine with an external drive. Either way, the goal is a complete snapshot of your current system. This backup exists independently of your transfer and is your fallback if anything goes wrong.
Choose your transfer method
You have three main options:
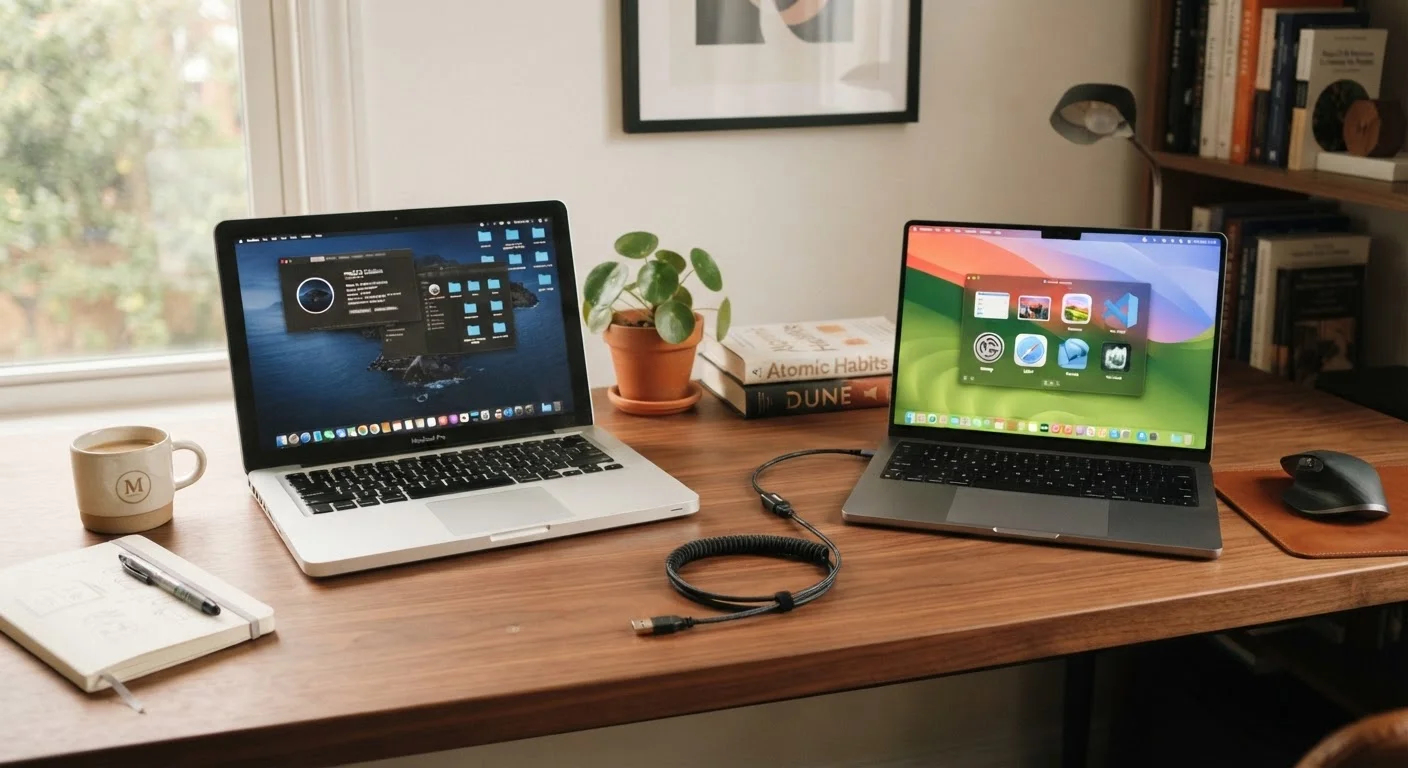
- Built-in migration tools: Windows offers Windows Easy Transfer (older versions) and the newer PC migration feature. macOS includes Migration Assistant, which can pull data directly from another Mac, a Time Machine backup, or an external drive.
- External drive: Manually copy your priority folders to a drive, then paste them onto the new machine. Reliable, straightforward, and works across operating systems.
- Cloud sync: Sign into your existing cloud storage account on the new computer and let files download automatically. Works well if your files are already in the cloud and your internet connection is fast.
Switching between operating systems — say, Windows to macOS — generally rules out built-in migration tools, making an external drive or cloud sync the practical choice.
Transfer your files
Execute the method you chose. If using an external drive, copy these folders first: Documents, Pictures, Videos, Music, and Desktop. If using a cloud service, verify that the sync is 100% complete — most apps show a status icon in the system tray or menu bar. If using a migration tool, follow the on-screen prompts and leave the computers connected until the process finishes. Large transfers can take one to three hours depending on file size and method.
Migrate browser bookmarks, passwords, and email
Files are only part of the picture. For your browser, sign into the same account in Chrome, Firefox, Edge, or Safari on your new machine — bookmarks and saved passwords will sync automatically. For email, if you use a web-based service (Gmail, Outlook.com), simply log in. If you use a desktop client like Thunderbird or Apple Mail with a local mailbox, export your mail archive from the old machine and import it on the new one — both apps have dedicated import/export menus.
Reinstall applications and reactivate licenses
Most software must be reinstalled fresh on the new computer — especially on Windows, where programs are tied to the system registry rather than self-contained. Gather your license keys or subscription account logins beforehand. For software purchased through the Mac App Store or Microsoft Store, re-downloading is free using the same account. Priority apps to reinstall: productivity suites, creative software, VPN clients, and any security tools.
Verify everything before letting go of the old machine
Spend a full day or two working on the new computer with the old one still available. Open files from key projects, check that your email loads correctly, confirm that your photos are intact, and test any apps that matter to your workflow. Only once you are satisfied should you consider wiping or repurposing the old machine.
Use Cloud Sync to Lighten the Load
If your documents and photos are already syncing to a cloud service such as iCloud, Google Drive, or OneDrive, signing into that account on your new computer is often the fastest way to restore your files. Just confirm the sync is fully complete before relying on it as your only copy.
Common Stumbling Blocks and How to Avoid Them
Even with a solid plan, a few issues tend to trip people up:
- Incompatible file formats: Some apps save files in proprietary formats that won't open on a different operating system. If you're switching platforms, check that you can export to a universal format (PDF, JPEG, MP4, CSV) before transferring.
- Two-factor authentication lockouts: If your old phone or computer was an authenticator device, set up your new machine as an authenticator before decommissioning the old one, or you may lose access to accounts.
- Missing app licenses: Some software — particularly older boxed software — allows only a limited number of activations. Contact the developer's support team if you run into an activation limit after transferring.
Don't Wipe Your Old Computer Too Soon
Many users erase their old machine the moment the transfer finishes, only to discover missing files days later. Keep your old computer intact and accessible for at least two to four weeks after switching over. Only decommission or factory reset it once you are confident everything you need is safely on the new machine.
For a broader look at what to audit before switching devices, the same principles covered in our smartphone upgrade checklist apply just as well to computers. And for a deeper dive into understanding what you're buying, see our complete laptop and computer buyer's education.