Why the Material Choice Matters Before You Pick Up a Tool
Wall material selection is one of those decisions that feels minor until something goes wrong — a bathroom wall that crumbles because standard drywall was used behind tile, or a plaster repair that cracks because the wrong compound was applied over the original coat. The substrate you choose determines how a wall holds fasteners, resists moisture, takes paint, and holds up over years of daily use.
This comparison focuses on the three materials you'll most commonly encounter or need to choose between: standard drywall (also called gypsum board or sheetrock — though that last term is a brand name), traditional plaster, and cement board. Each has a defined role, and understanding those roles is the fastest way to avoid costly rework. For a broader vocabulary of renovation terms, see the Home Improvement Glossary to get comfortable with terminology you'll encounter at the lumber yard or with a contractor.
Drywall: The Workhorse of Modern Interior Walls
Gypsum board panels — typically 4×8 feet and available in ½-inch or ⅝-inch thicknesses — are the default wall material in virtually every American home built after the 1950s. They're lightweight enough for one or two people to handle, can be scored and snapped without power tools, and accept joint compound, primer, and paint straightforwardly.
Standard drywall performs well in dry, conditioned interior spaces: living rooms, bedrooms, hallways, and home offices. Specialty variants expand the range. Moisture-resistant drywall (sometimes called greenboard for its color) tolerates humidity better than standard panels but should not be used as a tile backer in direct-water areas like showers. Fire-rated Type X drywall, which contains glass fibers, is often required by code in garages and utility rooms adjacent to living spaces.
Choosing the Right Drywall Thickness
Half-inch drywall suits most walls; use ⅝-inch panels on ceilings or anywhere you want to reduce sound transmission between rooms. Thicker panels are also more resistant to sagging on ceiling applications with wider stud spacing. Check the panel's edge profile too — tapered edges make finishing seams significantly easier than square-edged panels.
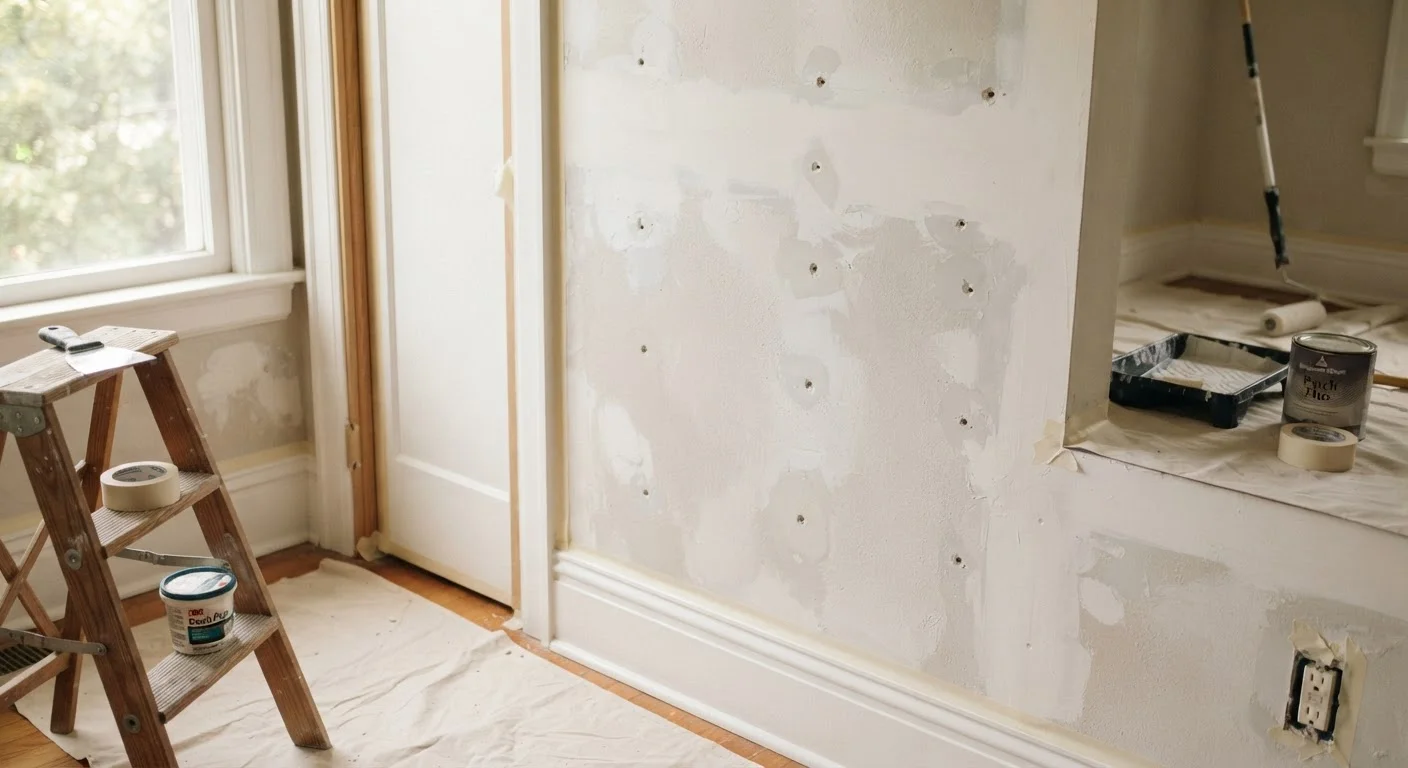
The main limitation is fragility relative to plaster. Drywall dents and punctures more easily, and surface repairs — while manageable for a DIYer — require patience to blend invisibly. Once painted and finished, though, a well-taped drywall surface is clean, smooth, and ready for whatever comes next, including the prep steps covered in our guide to painting interior walls.
Plaster: The Original Wall System and When It Still Makes Sense
Traditional plaster walls — built up in two or three coats over a lath substrate — were the standard before drywall. They're denser, harder, and considerably better at blocking sound transmission between rooms. Homes built before roughly 1950 almost certainly have plaster walls, and preserving them can maintain both acoustic quality and historical character.
The drawback for most homeowners is the skill barrier. Plaster application is a craft; matching an existing texture during repairs or achieving a flat, true surface on new work takes practice. Materials cost more than drywall, and labor is the biggest variable — experienced plasterers are less common and generally charge premium rates.
| Drywall | Plaster | Cement Board | |
|---|---|---|---|
| Primary use case | Dry interior rooms | Historic or high-end interiors | Tile substrate in wet areas |
| DIY friendliness | High — easy to cut and hang | Low — skilled labor required | Moderate — heavy, harder to cut |
| Moisture resistance | Low (standard); moderate (greenboard) | Low — absorbs moisture | High — resists moisture well |
| Sound isolation | Moderate | Superior | Moderate |
| Material cost | Low to moderate | Moderate to high | Moderate |
| Repairability | Moderate — blend required | Difficult — skill-dependent | Not typically repaired; replaced |
| Paint-ready finish | Yes, after taping and priming | Yes, smooth or textured | Not painted — tile is applied |
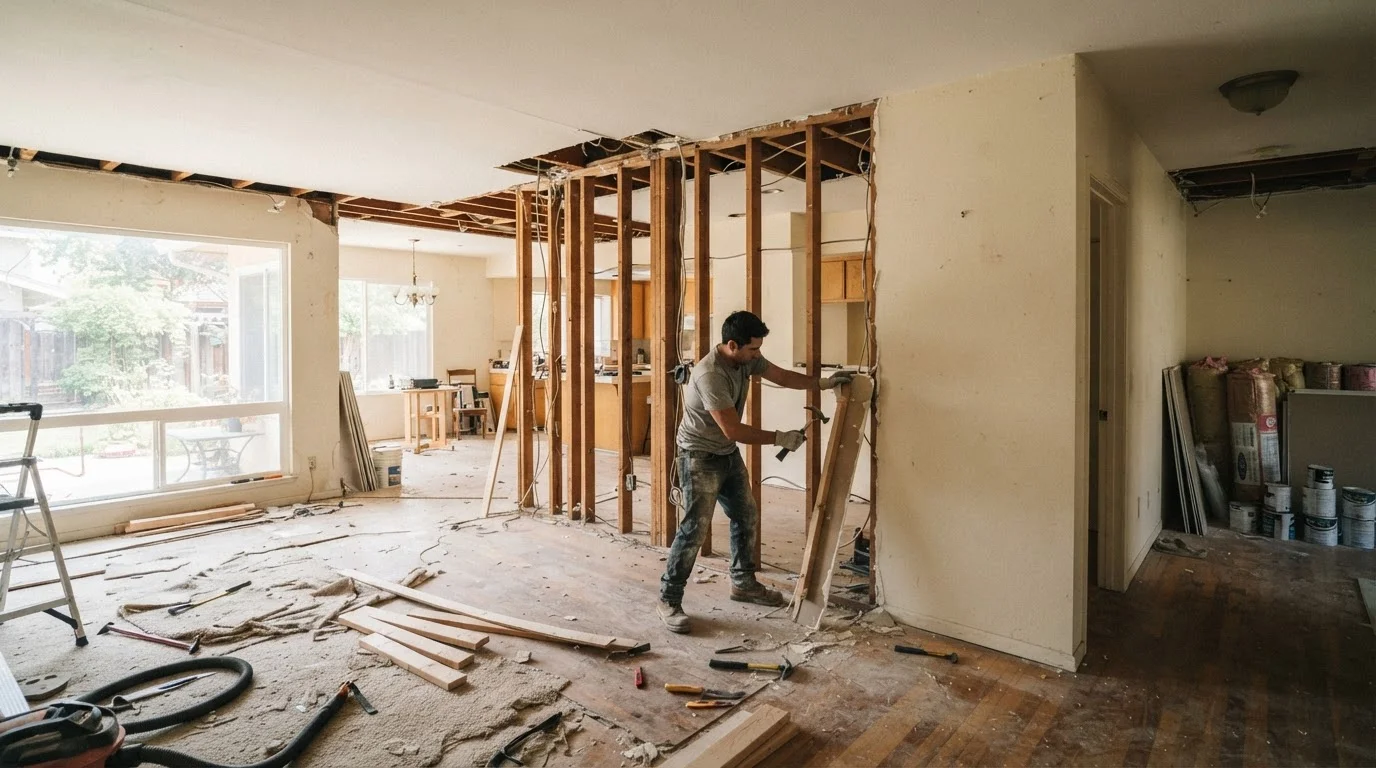
That said, plaster is genuinely superior for sound attenuation and impact resistance. If you're finishing a music room, a home theater, or restoring a pre-war apartment, it may be worth the investment. Be aware that plaster walls also require specific anchors and fasteners — standard drywall anchors can fail in dense plaster. Consult with a licensed contractor if you're unsure about structural implications, particularly if walls are load-bearing. The guide to load-bearing vs. partition walls is a useful starting point.
Cement Board: The Only Right Answer Behind Tile in Wet Zones
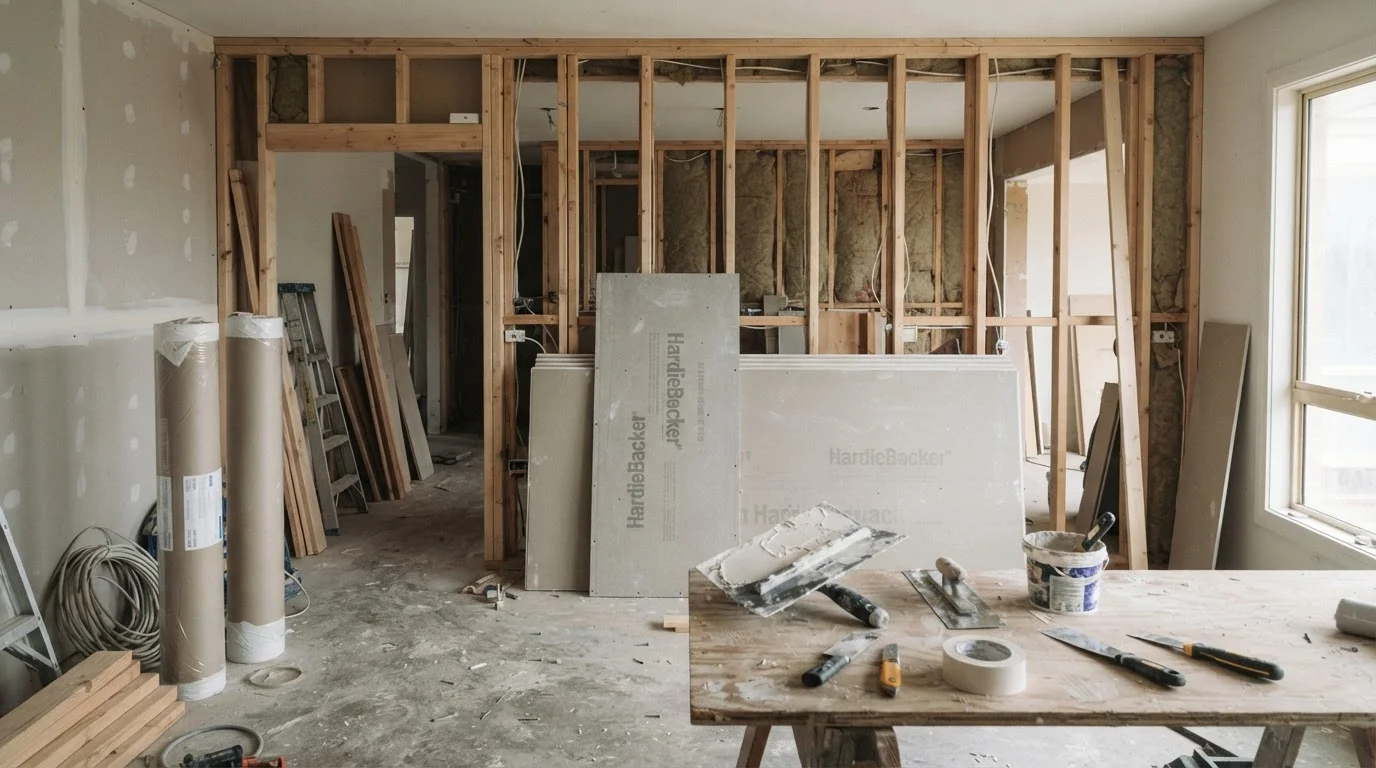
Cement board (also sold under brand names like HardieBacker and Durock — though those are proprietary products, not generic terms) is a rigid panel made from Portland cement and reinforcing fibers. Unlike drywall or plaster, it does not contain organic material that can break down when exposed to sustained moisture. That makes it the correct substrate whenever tile will be installed in an area that gets wet: shower surrounds, tub decks, steam rooms, and floors in bathrooms or laundry areas.
Standard or moisture-resistant drywall behind tile in a shower will eventually fail — the paper face deteriorates, the gypsum core softens, and tile begins to loosen or crack. Cement board prevents this failure mode. It is, however, heavier and harder to cut than drywall, typically requiring a carbide-tipped scoring tool or an angle grinder with a diamond blade. Fastener spacing and overlap requirements are specified by manufacturers and should be followed precisely.
Cement board alone is not a waterproof barrier — it resists moisture but is not impermeable. A waterproofing membrane applied over or behind the board is the complete system. Our companion article on bathroom waterproofing explains how that layer works and why skipping it leads to tile failures that are expensive to correct.
Don't Skip the Waterproofing Membrane
Cement board resists moisture but is not waterproof on its own. Installing tile over bare cement board in a shower without a topical membrane or sheet membrane system leaves the structure vulnerable to water intrusion over time. This is a common and costly oversight — verify manufacturer installation requirements and local code before tiling any wet-area surface.
Making the Call: Room-by-Room Decision Framework
Use the comparison table above as a quick reference, then apply this simple decision logic:
- Dry interior rooms (living, dining, bedroom, hallway): Standard ½-inch drywall is appropriate. Upgrade to ⅝-inch for better sound isolation between floors or shared walls.
- Garages, utility rooms, and firewall applications: Check local code — Type X fire-rated drywall is frequently required. A licensed contractor or permit office can confirm specifics for your jurisdiction.
- Bathrooms and kitchens (non-tile areas): Moisture-resistant drywall is a reasonable choice for walls away from direct splash zones.
- Behind tile in any wet area: Cement board is the appropriate substrate. Do not substitute standard or moisture-resistant drywall here.
- Historic homes or premium acoustic goals: Plaster (new or restored) may be worth the additional cost and skilled labor.
Whatever material you select, surface preparation before finishing determines the final quality. The same principle applies to flooring decisions — material fit-to-environment matters as much as aesthetics, a point explored in the engineered hardwood vs. solid hardwood flooring comparison.