Why Waterproofing Is the Most Important Layer You'll Never See
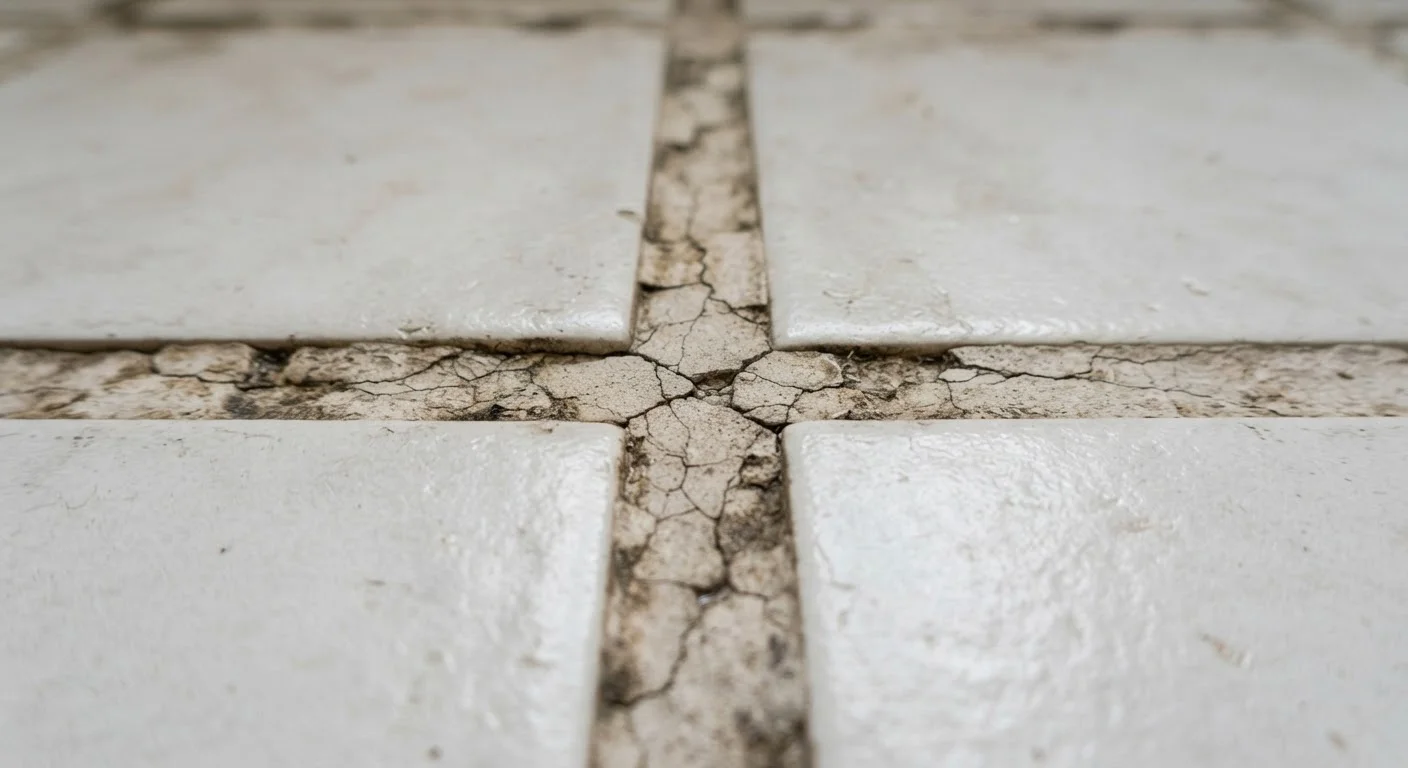
A bathroom can look perfect on the surface and still be silently failing. Water that finds its way through grout lines — and it will, eventually — needs to be stopped by a dedicated moisture barrier before it ever reaches the structural layer beneath. Without one, the result is predictable: swollen substrate, rotting framing, and mold growth that spreads well beyond what's visible to the eye.
This is not a problem unique to old homes or low-end tile work. Many tile failures trace back to one skipped or underapplied layer during initial installation. As our article on where cutting renovation costs helps vs. hurts points out, waterproofing is one of the areas where saving money upfront consistently produces much larger costs later.
Understanding what a proper moisture barrier involves — and how to install one correctly — is the foundation for any bathroom tiling project.
Waterproofing Is a Code and Safety Issue
In many jurisdictions, bathroom renovations involving shower surrounds or wet areas require inspections and must meet local building codes. Always check with your local building department before starting work. If you're uncertain about structural conditions, plumbing penetrations, or electrical proximity, consult a licensed contractor before proceeding.
What You'll Need Before You Start
Getting the waterproofing layer right depends on having the proper materials and realistic preparation. Gather everything listed below before beginning, and confirm that all plumbing rough-in and framing inspection is complete. Starting the waterproofing layer over incomplete or damaged framing is a common and avoidable mistake.
What you will need
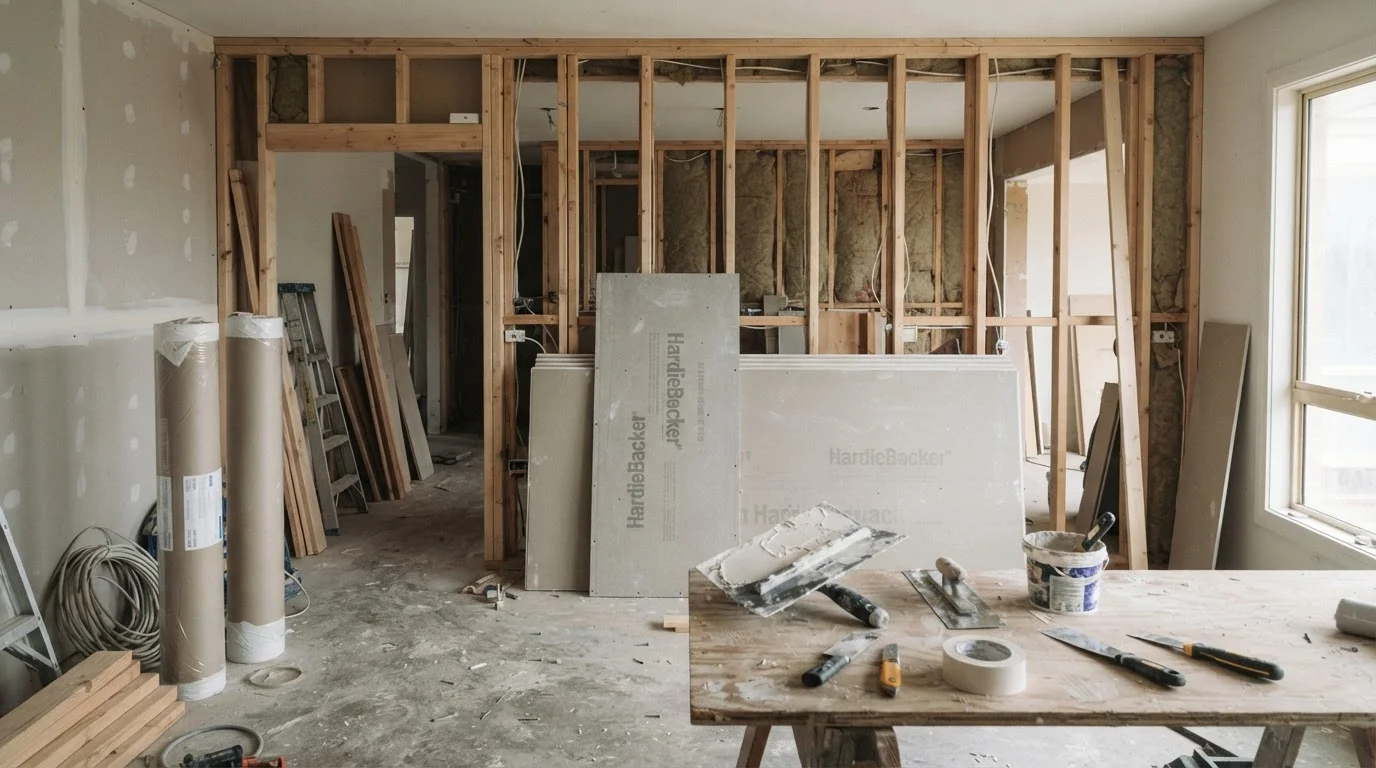
Cement board or tile backer
Provides a stable, moisture-resistant substrate for the membrane and tile to bond to.
Liquid-applied waterproofing membrane
Creates a continuous, flexible moisture barrier over the substrate surface.
Waterproofing fabric tape
Reinforces seams, inside corners, and transitions where membrane is most likely to fail.
Trowel or wide brush
Applies the liquid membrane evenly across flat surfaces and into corners.
Utility knife
Trims fabric tape and cuts backer board to size.
Seam roller
Presses fabric tape into wet membrane to eliminate air bubbles and ensure adhesion.
Note that skimping on material quality in this layer — unlike, say, decorative fixtures — carries real long-term risk. The membrane and fabric tape are not areas to substitute with cheaper alternatives mid-project.
Step-by-Step: Installing Your Bathroom Moisture Barrier
Install the correct substrate
Standard drywall — even so-called moisture-resistant "green board" — is not appropriate for shower surrounds or wet floor areas. Install cement board or another tile-rated backer panel instead. As explained in our guide on choosing the right wall material, each substrate has distinct limitations, and using the wrong one is one of the most common causes of long-term tile failure.
Fasten panels according to the manufacturer's spacing requirements. Leave a small gap at floor transitions and fill it with a flexible, waterproof sealant rather than taping it rigid.
Tape and pre-treat seams and inside corners
Before applying any membrane, embed waterproofing fabric tape into all seams between panels and into every inside corner. Apply a thin coat of liquid membrane first, press the tape firmly into it with a seam roller or your fingers, then apply a second coat over the top. Work out any air bubbles or wrinkles — these create weak points where water can eventually work its way through.
If you're curious why this step matters so much, our companion article on why grout keeps cracking explains how substrate movement at seams transmits stress all the way to the tile surface.
Apply the first coat of liquid membrane
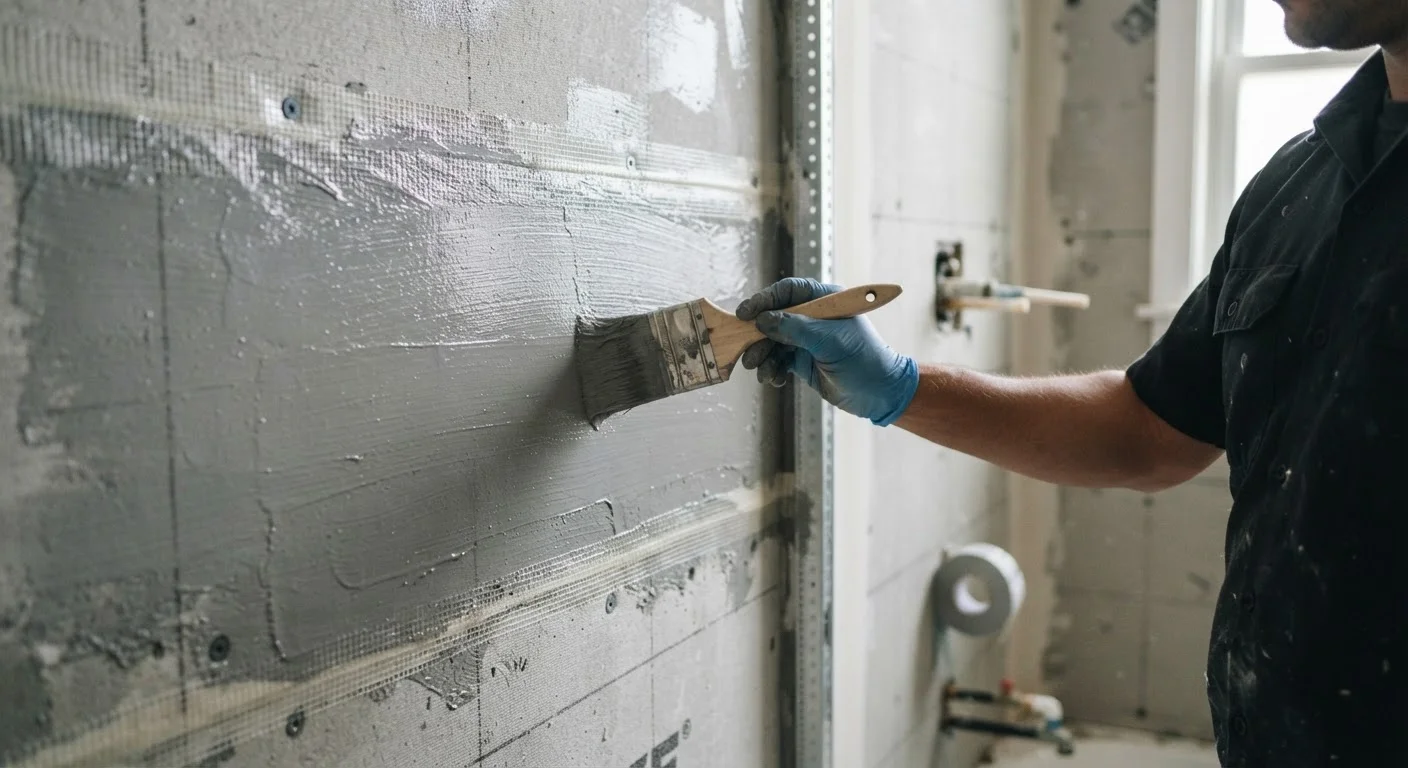
Using a wide brush or trowel, apply the liquid membrane in a uniform coat across all wet-area surfaces — walls, the floor pan, and any curbs. Work methodically from the top of the walls downward so drips land on untreated areas you haven't passed yet. Pay close attention to coverage thickness; most products specify a minimum wet-film thickness for each coat.
Allow the first coat to dry fully before continuing. Drying time varies by product and humidity — follow the manufacturer's guidelines rather than guessing.
Apply the second coat perpendicular to the first
Apply the second coat of membrane in a direction perpendicular to your first coat. This cross-hatching technique helps ensure full, even coverage and eliminates any pinholes or thin channels left by the brush in the first pass. Two complete coats — applied this way — are standard practice for shower enclosures and wet floors.
Seal all penetrations
Every pipe, drain body, fixture stub-out, or screw penetrating the waterproofed surface is a potential leak path. Apply collar-style pre-formed membrane boots or additional membrane and tape around each penetration, pressing firmly to ensure a continuous bond. Drain flanges typically require a specific bonding method — consult the drain manufacturer's instructions to confirm compatibility with your membrane product.
Cure fully before tiling
Allow the completed membrane system to cure for the full time listed by the manufacturer — typically 24 to 72 hours depending on the product and ambient conditions. Rushing this step by setting tile too soon can prevent the membrane from achieving its rated performance. Once cured, perform a flood test on the shower floor before any tile is set.
[tip_callout]Once all coats are cured and your flood test passes, you have a properly protected substrate ready for setting tile and grout. Every hour invested in this hidden layer pays forward into years of trouble-free performance above it.
After the Waterproofing: Protecting Your Investment Long-Term
Even the best moisture barrier can be compromised over time if the layers above it aren't maintained. Inspect grout lines annually and regrout any sections that show cracking or deterioration. A cracked grout line isn't just cosmetic — it's an open path for water. For a deeper look at why this happens and how to address it, see our guide on why grout keeps cracking.
It's also worth understanding how water damage relates to your homeowner's insurance coverage. Gradual leak damage — the kind that builds up over months of waterproofing failure — is frequently excluded from standard policies. Our overview of insurance coverage gaps explains how these exclusions form and why identifying them matters before damage occurs.
Don't Rely on Tile or Grout Alone
Ceramic and porcelain tile are not inherently waterproof — grout is especially porous. Water that reaches the substrate beneath ungrouped or cracked tile will cause mold and rot over time. A dedicated waterproofing membrane is a separate, essential layer and should never be skipped in wet areas.
A bathroom waterproofing project done correctly is genuinely one of the highest-value things a homeowner can do — not because it's glamorous, but because it quietly protects everything above and below it for decades.