Why Preparation Outweighs Everything Else
Ask any professional painter what separates a finish that lasts a decade from one that starts bubbling in a year, and the answer is almost always the same: what happened before the first coat. Paint adheres to the surface beneath it, not the other way around. Grease, dust, old caulk gaps, and unpatched holes all telegraph straight through even premium paint.
This is especially relevant if you're tackling painting as part of a larger home project. If you're sequencing multiple renovations at once, see our guide to renovation task sequencing to make sure painting falls at the right point in your workflow.
The steps below follow the same sequence professional painters use on residential projects. None of them require specialized skills — just patience and the right materials.
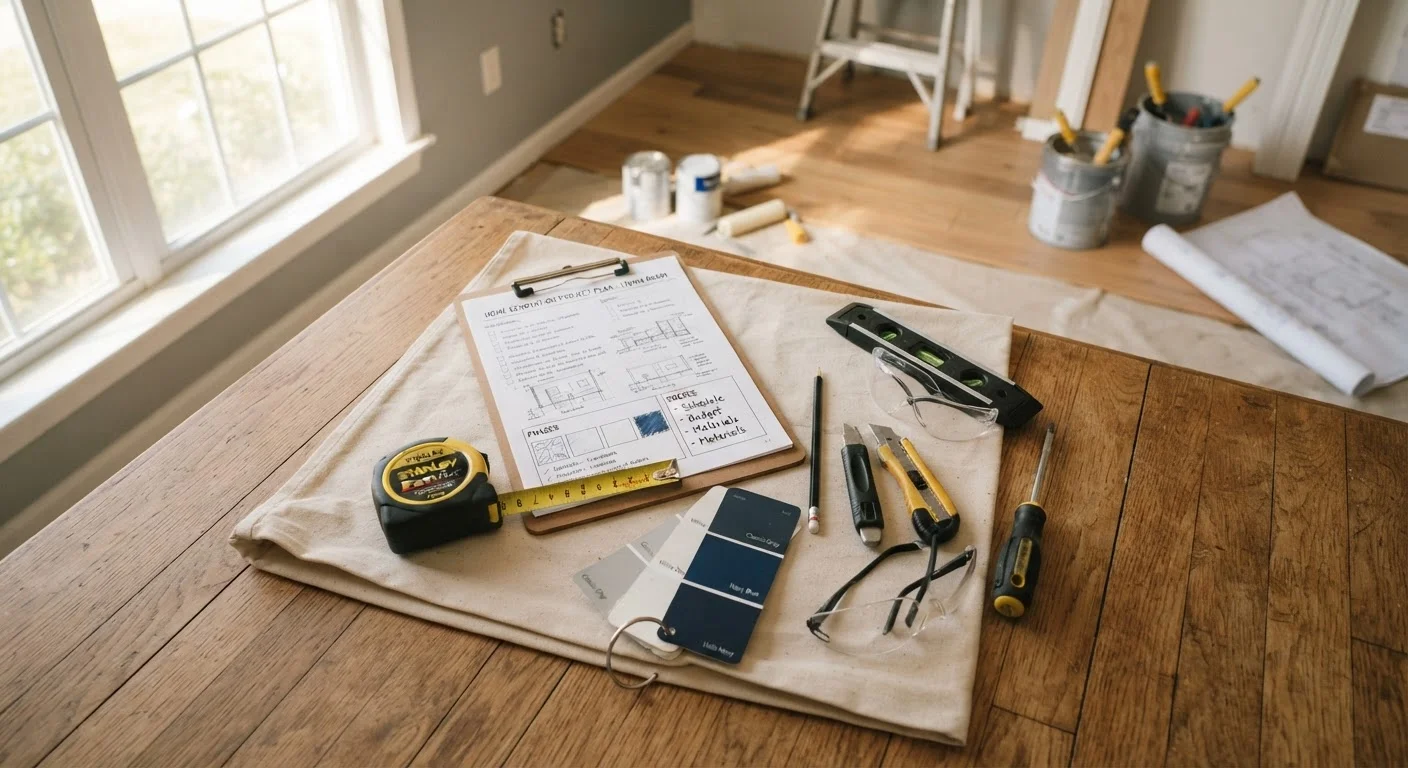
What you will need
The Prep Process, Step by Step
Work through each stage in order. Rushing ahead — especially past drying times — is the single most common reason DIY paint jobs disappoint.
Clear and protect the space
Move furniture at least three feet from the walls, or remove it from the room entirely. Cover floors with canvas drop cloths — plastic sheeting becomes slippery and doesn't absorb drips. Remove outlet covers and switch plates and store their screws in a small bag. Pull any nails or picture hooks from the wall with pliers.
Clean the walls thoroughly
Mix a TSP substitute or mild degreaser according to package directions and wash all wall surfaces with a sponge, working from the top down. Pay particular attention to areas around light switches, door handles, and kitchen walls where grease accumulates. Rinse with clean water and allow the walls to dry completely — typically two to four hours depending on humidity.
Inspect and patch all imperfections
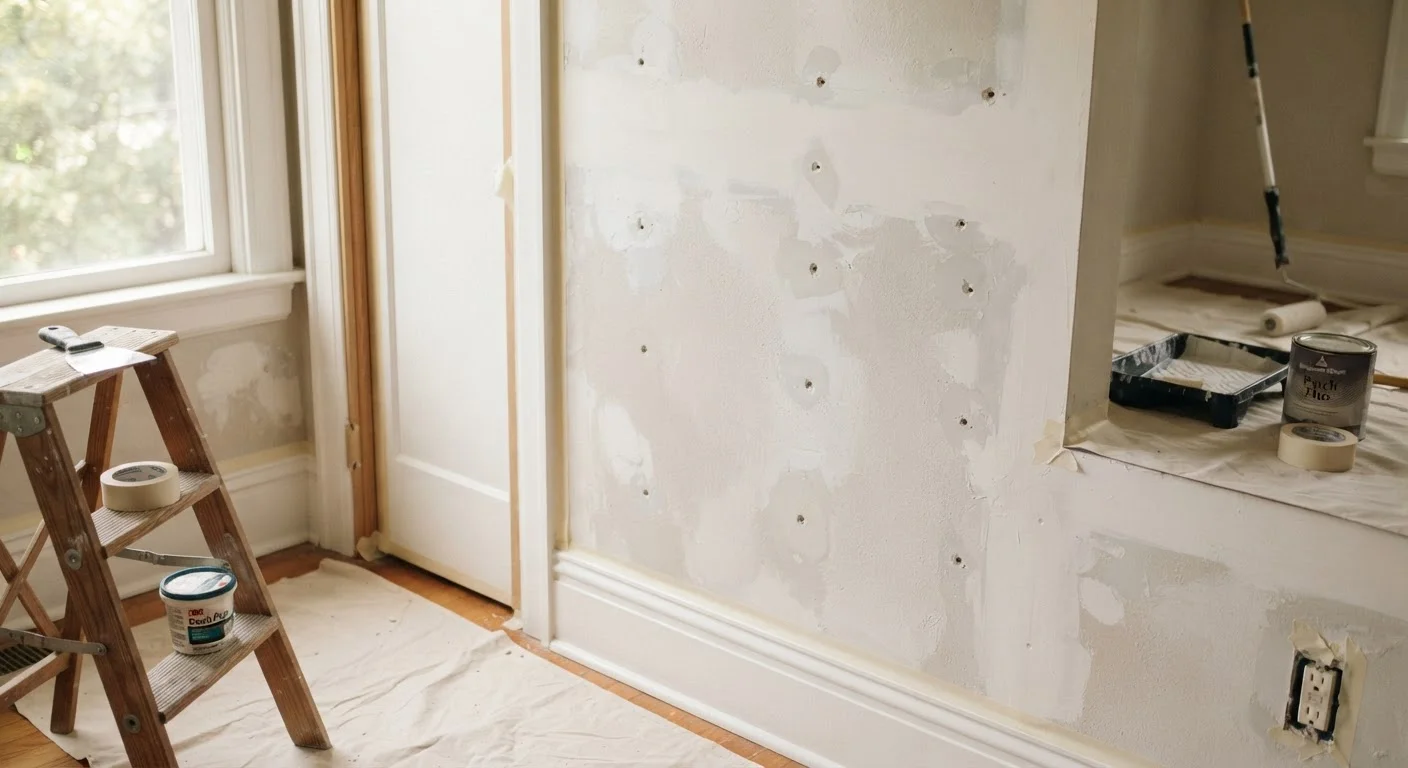
Work around the entire room systematically, pressing on the wall surface to feel for soft spots that indicate old water damage. Use a putty knife to apply spackling compound to nail holes and small cracks, slightly overfilling each spot. For larger holes (over a half inch), use a mesh patch kit and joint compound, following the product's layering instructions. Let each application dry fully before adding more.
Sand patched areas smooth
Once all patches are completely dry, sand them flat with 120-grit sandpaper, then follow up with 220-grit for a finer finish. Feather the edges of each patch into the surrounding wall so there is no visible ridge. After sanding, wipe all surfaces with a lightly damp cloth or tack cloth to remove dust — sanding dust left on the wall will show through paint.
Apply painter's tape
Run painter's tape along all trim, baseboards, ceiling edges, and any surface you want to protect. Press the tape edge down firmly with a putty knife or your fingernail to prevent paint from bleeding underneath. Remove tape while the final paint coat is still slightly tacky — not after it has fully hardened — pulling at a 45-degree angle for the cleanest edge.
Prime before painting
Apply a full coat of primer over all repaired areas, and over the entire wall if the surface is new drywall, if you are covering a dark color, or if stains are present. Roll primer the same way you'll roll paint — in a "W" pattern, working in sections. Allow primer to dry according to the manufacturer's guidance before painting. Do not try to skip this step to save time.
Homes Built Before 1978: Test for Lead Paint First
If your home was built before 1978, the existing paint may contain lead. Sanding or scraping lead paint without proper precautions creates hazardous dust. Inexpensive lead test kits are widely available; if a test comes back positive, consult a certified lead-safe renovation contractor before proceeding. This is not an optional precaution.
Common Problems and How to Catch Them Early
Before you prime, do a final walk of the room with a work light held at a low angle against the wall. Raking light reveals surface irregularities — slight depressions, ridges from dried joint compound, or areas that weren't sanded evenly — that overhead lighting completely hides. Mark any spots with a small piece of painter's tape and address them before moving on.
If you notice dark stains (water marks, smoke, or grease) that weren't obvious before you cleaned, those areas will need a shellac- or oil-based stain-blocking primer applied specifically to them before your full prime coat. Standard latex primer will not reliably seal these types of stains.
Use Raking Light Before Every Stage
A simple work light held parallel to the wall surface at the start and end of each prep stage is the most effective quality-control tool available to a DIYer. It costs nothing and reveals issues that would otherwise only appear after paint is applied. Make it a habit throughout the entire process, not just at the end.
Taking the time now to find and fix every flaw saves you from repainting sections later — a task that's far more disruptive once furniture is back in place.