Why Mesh Wi-Fi Solves Problems a Single Router Cannot
A traditional single router broadcasts Wi-Fi from one fixed point. Signals weaken with distance and struggle to pass through floors, thick walls, and dense building materials. The result is familiar: strong signal in the living room, frustrating dead zones in the upstairs bedroom or home office.
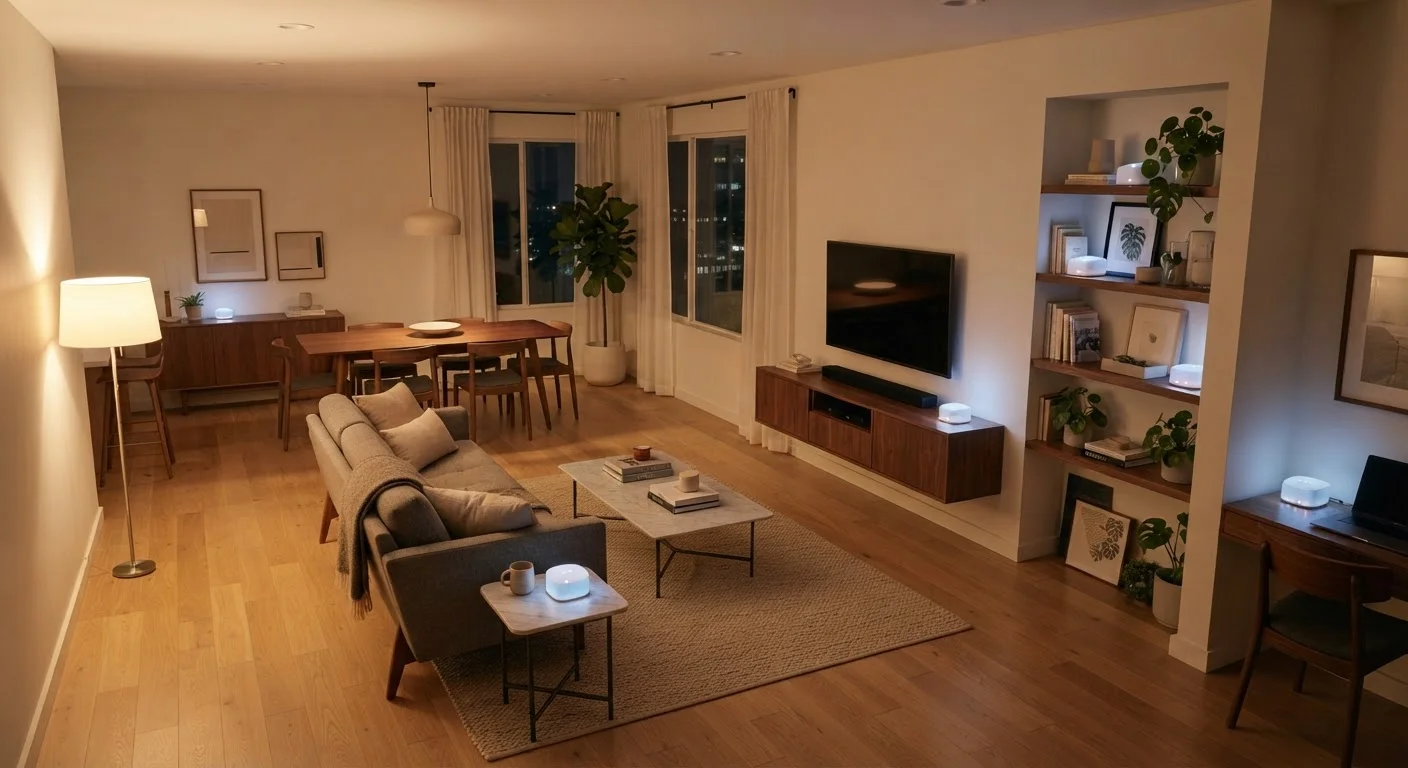
A mesh system (short for "mesh network") replaces that single point with two or more interconnected nodes — small units you distribute around your home. Each node communicates with the others and with your devices, creating one seamless network rather than a patchwork of extenders with different names and passwords. Your phone or laptop automatically hands off to whichever node is closest as you move through the house, without you noticing a gap.
This makes mesh Wi-Fi particularly well-suited for multi-story homes, older homes with plaster walls, and households with many connected devices. If you are building out a connected home over time, solid Wi-Fi coverage is the foundation everything else depends on — see our guide on planning a smart home setup that grows with you for how networking fits into the bigger picture.
Keep Your ISP Modem Separate
If your internet provider supplied a combined modem-router unit (often called a gateway), you will need to put it in "bridge mode" or "IP passthrough" before connecting your mesh system. Running two routing devices simultaneously — known as double NAT — can cause connectivity problems and slow speeds. Contact your ISP if you are unsure how to switch modes on their equipment.
What You Need Before You Start
Setup is straightforward, but gathering the right items before you begin prevents mid-installation frustration.
What you will need
Mesh Wi-Fi System (2–3 nodes)
The hardware that creates the distributed wireless network throughout your home.
Ethernet Cable (Cat 5e or better)
Connects your primary mesh node directly to the modem for the most stable uplink.
Smartphone with Companion App
Used to configure nodes, name the network, and test coverage during setup.
Power Strip or Extra Outlets
Ensures each node has access to a wall outlet in its optimal placement location.
You do not need networking expertise or command-line knowledge. The entire process is designed around the companion app, which handles all the technical configuration behind the scenes.
Step-by-Step Setup Instructions
Follow these steps in order. Skipping ahead — particularly step 2 — is the most common cause of post-install problems.
Download the companion app and create an account
Before unboxing any hardware, download the mesh system's official app on your smartphone. Most systems require an account to manage your network, so create one now. Having the app ready means the guided setup flow will walk you through each remaining step — you will not need to configure anything manually through a web browser.
Put your ISP gateway in bridge mode (if needed)
If your internet provider gave you a combined modem-router (a "gateway"), log into its admin interface — usually at 192.168.1.1 or 192.168.0.1 in a browser — and enable bridge mode or IP passthrough. This disables the gateway's routing function so it only passes your internet signal through to your mesh system. If you cannot find the option, call your ISP; they can often toggle this remotely.
Connect the primary node to your modem
Plug one end of an Ethernet cable into the WAN or Internet port on your primary mesh node (check the label or quick-start guide to identify it), and plug the other end into your modem's LAN port. Then connect the node's power adapter and turn it on. Wait about 60 seconds for it to boot fully — a solid or slowly pulsing LED typically means it is ready.
Run the in-app setup wizard
Open the companion app and follow the on-screen prompts. The app will detect your primary node, connect to it, and guide you through naming your Wi-Fi network (SSID) and setting a password. Choose a network name that does not reveal your address or personal details, and use a password of at least 12 characters mixing letters, numbers, and symbols.
Place and add additional nodes
Position each additional node roughly halfway between the primary node and the area you want to cover — not at the far edge of the dead zone itself. Nodes need to maintain a strong connection to each other to relay a fast signal. Plug each node into power, then use the app to add it to your network; the wizard will confirm when it has joined successfully.
Run speed and coverage tests in every room
Once all nodes are online, walk through your home with your phone and use the app's signal-strength indicator or a free speed-test app to check performance in each room, including bathrooms, garages, and outdoor patios if coverage there matters to you. If a room is still weak, move the nearest node a few feet closer to that area and retest. Minor repositioning can make a significant difference.
Reconnect your devices to the new network
Go through your home and switch every Wi-Fi device — phones, laptops, smart TVs, smart speakers, security cameras, and thermostats — to your new mesh network name and password. If you kept the same SSID and password as your old router, many devices may reconnect automatically. Otherwise, update each device's Wi-Fi settings one at a time.
Use the App's Signal Strength Tool
Most mesh apps show a live signal-quality indicator while you carry your phone through the house during setup. Walk to each room before finalizing node placement — the app will tell you if a node needs to move closer to close a coverage gap. This takes only a few extra minutes and saves a lot of frustration later.
After Setup: Keeping Your Mesh Network Healthy
A mesh network is not fully set-and-forget. A few habits keep it running reliably over the long term:
- Update firmware promptly. Most apps notify you when updates are available. Install them — firmware updates frequently include security patches and performance improvements.
- Reboot nodes occasionally. A monthly restart clears memory and resolves minor glitches before they become real problems.
- Audit connected devices. Periodically review which devices are on your network through the app. Unknown devices could indicate unauthorized access.
- Check node placement after furniture changes. Moving a large bookcase or sofa can shift signal patterns enough to reintroduce weak spots.
For a deeper look at ongoing network hygiene and smart home maintenance, our article on keeping a smart home running well over time covers the routines that prevent small issues from compounding. If you are adding security cameras or other home tech after your mesh setup, understanding wired vs. wireless camera trade-offs will help you make a compatible choice. And if smart home devices are your next step, our first smart home guide is a practical place to continue.
Avoid Placing Nodes Behind Large Appliances
Refrigerators, microwaves, and other large metal appliances absorb and reflect Wi-Fi signals. Placing a mesh node in a kitchen cabinet next to a fridge or near a microwave can dramatically cut its effective range. Keep nodes in open spaces, elevated off the floor, and away from dense metal objects.